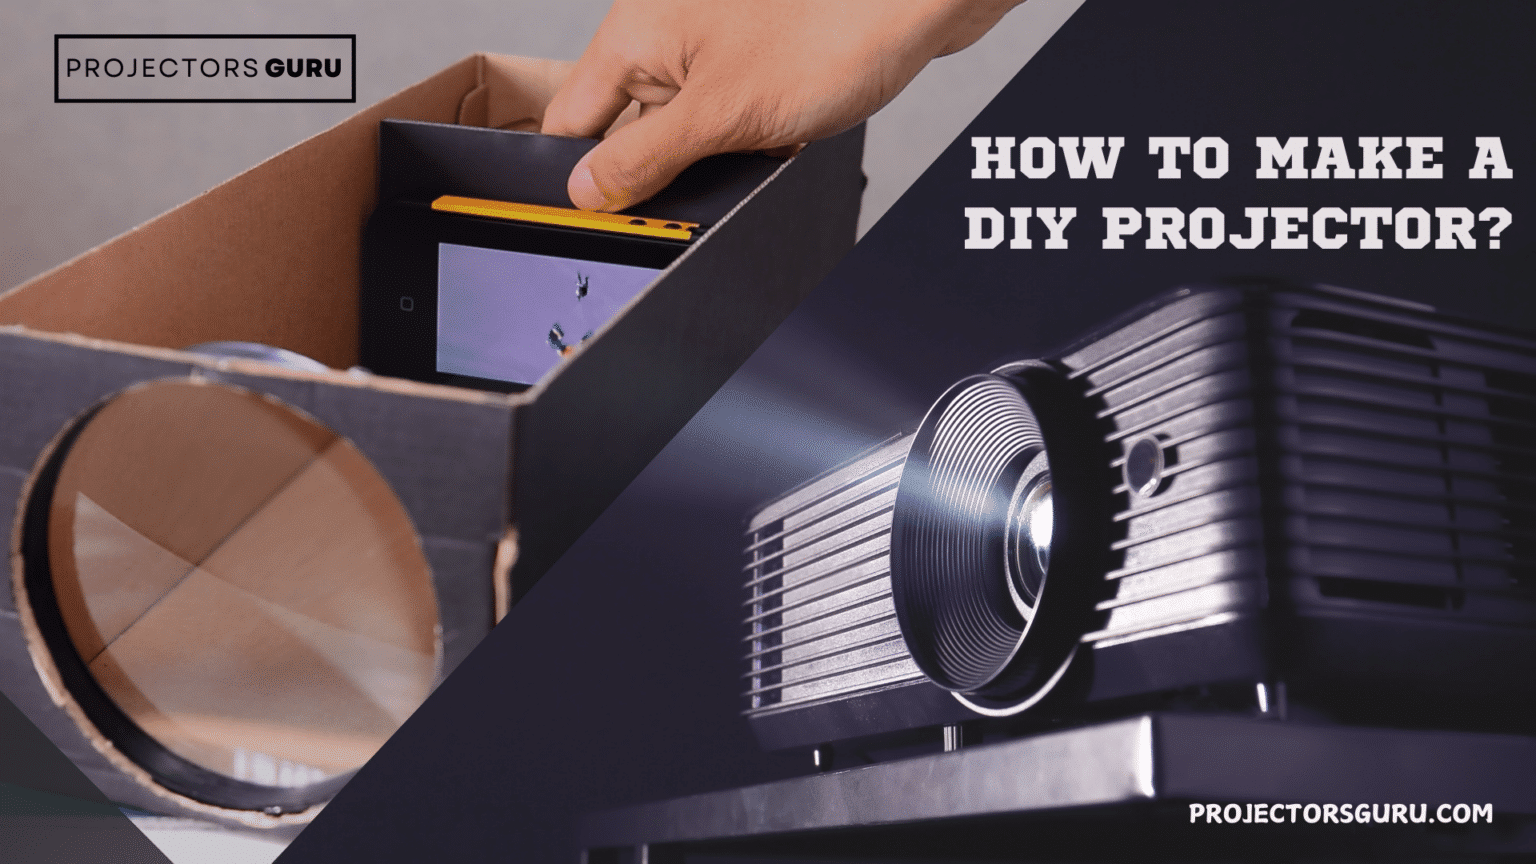
Oh, to watch movies on the big screen. It really takes us back to the classic 90s era. But what if we tell you can actually make a projector right at your home? Yes. You can totally do that. A simple homemade projector may be created with everyday objects and a smartphone. All you need are a box, your phone, and a magnifying glass. Make a hole for the magnifying glass in the box, slide your phone inside, and change the brightness of the screen. The phone’s display is magnified by the magnifying glass and projected onto a wall. It’s a highly cheap method to enjoy movies on a massive screen at home! Before we get into details, let us see what is the significance of projectors at home and how we can use them.
Using DIY Projectors at Home
Now, watching movies at home is all fun. However, making a home projector yourself is more of a budget-pick option. Using a do-it-yourself projector at home can be a fun and valuable endeavor. With a cardboard box and a magnifying glass, among other essential items, you can use your smartphone as a projector. Simple steps allow you to create an affordable home theater experience by projecting your phone’s screen onto a larger surface by following simple steps. This do-it-yourself option is ideal for showing pictures without the need for pricey equipment, movie evenings, and presentations. You can improve your home theater system, learn about optics, and save money by building your own projector. Let us first gather the tools we require to make a home projector.
")
Tools Needed to Make a Phone Projector
Before we dive into the process, let’s gather the materials you’ll need to make this DIY projector.
- Cardboard box (makeshift for a shoe box)
- Magnifying glass or magnifying lens
- A smartphone (to project the image)
- Scissors or a box cutter
- Black construction paper or black paint
- Tape or glue
- Ruler or measuring tape
- Smartphone stand (optional, but useful for stability)
Why Use a Magnifying Glass for DIY Projectors?
The magnifying lens will help enlarge the image from your phone’s screen. As light passes through the magnifying glass, it bends and projects a larger version of the screen onto the wall or a flat surface. The magnifying glass is the crucial element that transforms your phone into a projector.
Step-by-Step Instructions to Make a Projector

Credit: shotkit.com
Let us now learn these steps to create our home phone projector.
Step 1: Prepare the Box
- Cut a hole for the magnifying lens.
- Secure the lens with tape or glue over the hole and put the lid.
2nd Step: Line the Box Interior
- Cover the inside with black construction paper.
- This helps sharpen the projected image.
Step 3: Position Your Phone
- Place the phone horizontally at the opposite end of the lens.
- Use books or foam to keep the phone level.
4th Step: Flip the Phone Screen
- Use your phone’s settings or an app to flip the screen horizontally.
- Lock the phone in landscape mode for proper projection.
Step 5: Adjust Focus
- Move the phone back or forward to adjust clarity.
- Test the image on a blank wall.
Tips for Better Projection
You can review some of these points to make sure your visual experience is great.
- Dark Room: The darker the room, the better your DIY projector will perform. Make sure there’s minimal light to get a clearer picture.
- Bigger Lens = Bigger Projection: The larger the magnifying glass or lens, the bigger your projection.
- Distance from Wall: Experiment with the distance between your projector and the wall to get the best results.
- Use Apps for Focus: Some apps allow you to control the focus of your smartphone screen, helping you project a sharper image.
Troubleshooting Common Issues

Credit: instructables.com
Even though making a DIY projector is simple, you might run into a few challenges along the way. Here are some tips to troubleshoot the most common problems;
Blurry Image
If the image is blurry, make sure the phone is positioned at the right distance from the lens.
- Moving the phone closer or further from the magnifying glass can sharpen the focus.
- Also, ensure the lens is clean and free of dust.
Image is Upside Down
If the image is upside down, your magnifying lens is doing its job!
- You can flip the image using apps.
- Also, by enabling the rotation lock on your phone and manually flipping the screen.
Low Brightness
Your phone’s brightness plays a key role in how well the image projects.
- Make sure the phone screen is at its highest brightness setting. But don’t forget to keep in mind the light bleed!
- A low-brightness setting can result in a faint or dull image.
Final Thoughts
Summing up, creating a homemade projector using commonplace materials like a cardboard box, a magnifying glass, and a smartphone is enjoyable and economical. You can turn your phone as a projector by following a few easy steps, which will allow you to project images from the screen onto a wall. To get the best results, fine-tune the setting for the most precise projection, make sure your room is dark, and adjust your focus.
In conclusion, troubleshooting common problems like image quality or alignment will take some time, but with perseverance, you can have a handmade projector that makes for a pleasurable viewing experience.
3, 2, 1 LET’S CREATE AN IMMERSIVE HOME PROJECTOR MAGIC!
FAQ’s
Here is a look at common questions about making a DIY projector.
Can I use my phone as a projector?
Yes! Simply use a cardboard box, magnifying glass, and tape to project your phone’s screen onto a wall.
Why is my homemade projector image upside-down?
The magnifying lens inverts the image. Flip your phone screen to correct it.
How can I make my projector clearer?
Clean the lens and phone, adjust the distance for focus, increase brightness, and ensure the room is dark.
How can I project without a projector?
Use a magnifying glass, cardboard box, and phone to create a DIY projector.
What material can I use to make a projector screen?
A white bedsheet, blackout cloth, or foam board works great for a smooth, clear projection surface.